

Introduction
Turning your favorite design into a stunning embroidered masterpiece is a fun and creative process, especially when you have the right tools. For owners of Husqvarna Viking embroidery machines, the HUS file format is the key to bringing designs to life. Whether it’s a logo, a monogram, or a custom graphic, converting your design into a HUS file ensures your machine can stitch it with precision. The process might sound technical, but with a HUS file format converter, it’s easier than ever to transform images into stitch-ready files. This article walks you through how to use a HUS file format converter to create professional embroidered designs effortlessly.
What Is the HUS File Format?
The HUS file format is a proprietary embroidery file type used by Husqvarna Viking embroidery machines. It contains detailed instructions for stitches, including placement, color changes, and stitch types like satin or fill. Unlike standard image files like JPG or PNG, which store pixel-based visuals, HUS files tell the embroidery machine exactly how to recreate a design on fabric. A HUS file format converter is a tool—often part of digitizing software—that transforms images or other file types into HUS files. Understanding this format is the first step to unlocking its potential for your embroidery projects.
Why Use a HUS File Format Converter?
A HUS file format converter simplifies the process of preparing designs for your Husqvarna Viking machine. Without it, you’d need to manually digitize designs, which can be time-consuming and error-prone. Converters allow you to take common image formats like JPG, PNG, or vector files (SVG, AI) and turn them into HUS files with minimal effort. They ensure compatibility with your machine, maintain design quality, and save time. Whether you’re a business creating branded apparel or a hobbyist personalizing gifts, a converter makes the process accessible and efficient.
Step 1: Choose an Embroidery-Friendly Design
The first step is selecting a design that’s suitable for embroidery. Opt for images with clear, bold shapes and high contrast, as these translate best into stitches. For example, a simple logo or a cartoon-style illustration works better than a photo with intricate gradients or tiny details. Aim for a high-resolution image (at least 300 DPI) to ensure clarity when resizing. If your design is too complex, use photo editing software like GIMP or Photoshop to simplify it by reducing colors or sharpening outlines. A clean design sets the foundation for a successful conversion.
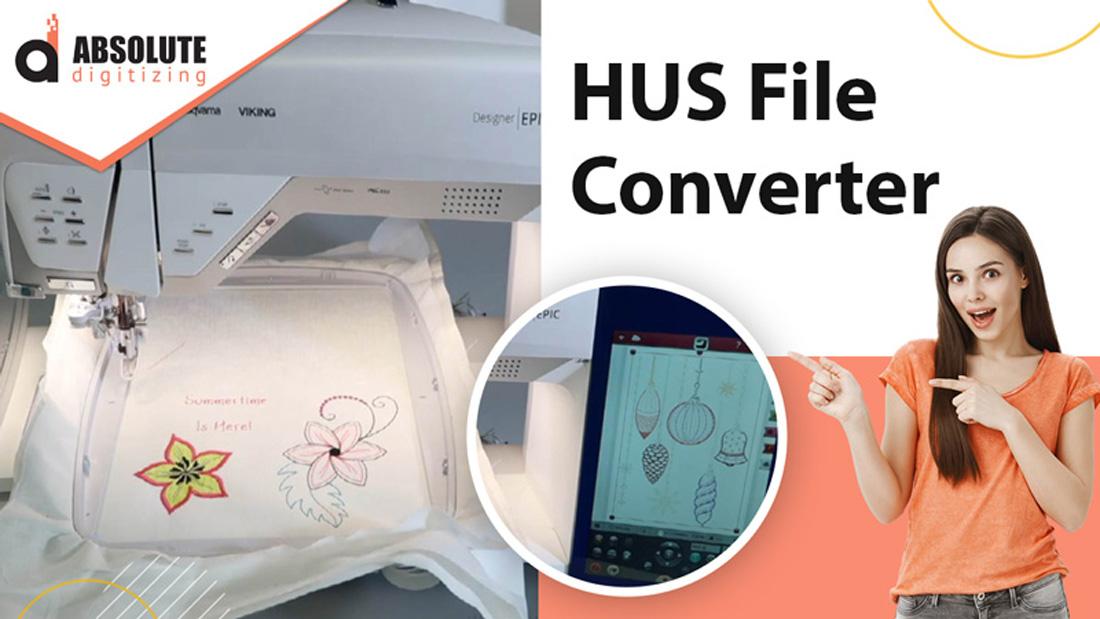
Step 2: Pick the Right Conversion Software
To convert your design to HUS, you need software with a HUS file format converter. Popular options include SewArt, Wilcom Hatch, Brother PE-Design, and Ink/Stitch (a free, open-source tool). Some Husqvarna Viking machines come with proprietary software like Husqvarna Viking 6D or 5D, which also support HUS conversion. For beginners, SewArt or Ink/Stitch are user-friendly and budget-friendly, while Wilcom Hatch offers advanced features for professionals. Ensure the software supports HUS as an output format, as this is essential for compatibility with your machine.
Step 3: Import and Resize the Design
Open your chosen software and import the design file (JPG, PNG, or vector). Most programs allow you to drag and drop or use an “Import” option. Once loaded, resize the design to match the dimensions you want for the embroidered product. Husqvarna Viking machines typically handle designs from 2 to 6 inches, depending on the hoop size. Use the software’s resize tool to adjust the image while maintaining its proportions. If the design has a busy background, crop it to focus on the main subject, like a logo or icon, to make the conversion process smoother.
Step 4: Simplify the Design for Stitching
Embroidery machines can’t handle the full complexity of a photo, so you need to simplify the design. Most converter software includes an auto-digitizing feature that reduces colors and smooths details. For example, convert the image to a posterized version with 5–10 color blocks to make stitching easier. In SewArt or Ink/Stitch, adjust the color count to limit the palette, as too many colors increase thread changes and complicate the design. Preview the simplified design to ensure it captures the essence of the original while being embroidery-friendly.
Step 5: Assign Stitch Types and Directions
Next, define how the machine will stitch the design. Different parts of the image require specific stitch types: satin stitches for borders or thin lines, fill stitches for larger areas, and running stitches for fine details. For instance, a monogram’s letters might use satin stitches for a glossy look, while a solid shape uses a fill stitch for coverage. Use the software to assign these stitches manually or let the auto-digitizing tool suggest them. Set the stitch direction to follow the design’s natural flow, like the curve of a flower, to enhance texture and prevent fabric distortion.
Step 6: Set Thread Colors and Sequence
Husqvarna Viking machines stitch one color at a time, so you need to assign thread colors and plan their order. In the software, select thread colors from a chart (e.g., Isacord or Madeira) that match your design’s palette. For a logo with red and blue elements, choose matching shades and group similar colors to minimize thread changes. For example, stitch all red areas before switching to blue. This step improves efficiency and ensures the design looks cohesive. Save your progress frequently to avoid losing work during the conversion process.
Step 7: Adjust Stitch Settings
To achieve a professional result, fine-tune stitch settings like density and underlay. Stitch density controls how tightly stitches are placed—too dense, and the fabric may pucker; too sparse, and gaps may appear. Lighter fabrics like cotton require lower density, while thicker materials like towels can handle more stitches. Add an underlay, a base layer of stitches, to stabilize the design, especially on stretchy fabrics. Use the software’s preview mode to simulate the stitching and check for issues like uneven lines or overlapping stitches. Make adjustments to ensure a clean, durable design.
Step 8: Convert and Export the HUS File
Once the design is ready, use the HUS file format converter to export it as a HUS file. In most software, you’ll find an “Export” or “Save As” option where you can select HUS from the format list. Verify that the file is compatible with your Husqvarna Viking machine, as some models may have specific requirements. Save the file to a USB drive or transfer it directly to your machine, depending on its setup. Before exporting, review the stitch count, colors, and design size. A high stitch count can slow down the embroidery process, so simplify the design if needed.
Step 9: Test the Design
Before embroidering on your final fabric, perform a test stitch-out on a scrap piece of similar material. Load the HUS file into your Husqvarna Viking machine, set up the correct thread colors, and start stitching. Inspect the result for issues like thread breaks, puckering, or colors that don’t match the design. If the design needs tweaks, return to the software to adjust stitch types, density, or colors. For example, if details look blurry, try a thinner satin stitch. Testing ensures the final product meets your expectations and prevents costly mistakes.
Step 10: Embroider the Final Product
With a successful test stitch-out, you’re ready to embroider the final piece. Choose your fabric or item, such as a shirt, bag, or hat, and secure it in the embroidery hoop. Load the HUS file, check settings like needle type and thread tension, and begin embroidering. Monitor the process to catch any issues, like thread tangles. Once finished, remove the fabric, trim excess threads, and iron or steam the design to set it. Your design is now a beautifully embroidered creation!
Conclusion
Using a HUS file format converter makes it easy to turn any design into a professional embroidered piece. From selecting a suitable image to fine-tuning stitch settings, each step ensures your design looks stunning on fabric. Whether you’re branding merchandise or personalizing gifts, this process empowers you to create with precision and creativity. With the right software and a little practice, you can master the art of converting designs for your Husqvarna Viking machine. Embrace the power of a HUS file format converter and start stitching your unique designs with ease and confidence.